Home | Construction
1 | Construction 2 | Construction
3 | Shopping
List | PC & Configuration | Graphics & Plans
Day 1: 14:58
|
|
|
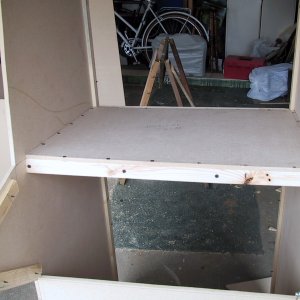
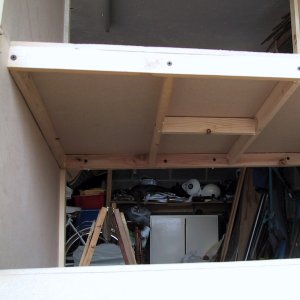
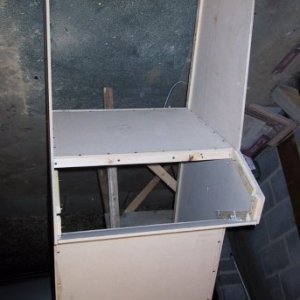
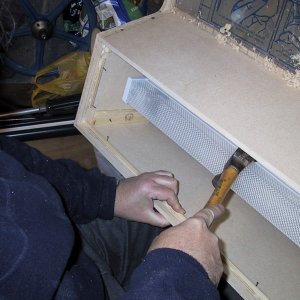
| Whilst the control
panel wiring was underway, the monitor shelf was built
and installed. |
|
| It's basically
a short box with cross-braces for strength. Its got to withstand
a 19" monitor .. pretty heavy. |
|
|
|
|
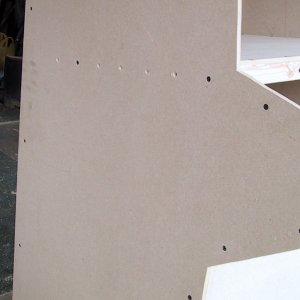
| Seven screws,
plus glue hold the frame to the side of the cabinet. |
|
| The back of the
monitor frame has holes to pass wires through from the top
half to the power in the bottom (when we install it). |
|
Day 1: 18:13
|
|
|
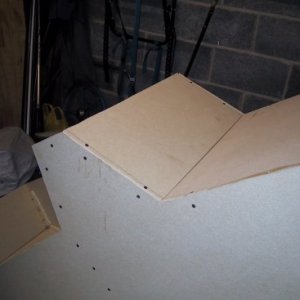
| After some food,
and some shopping for more parts the control panel got
a bottom. This, as for all the other pieces was cut, screwed
and glued together. Before putting this piece on we disassembled
the entire cabinet to glue all the battens. |
|
|
Day 1: 18:53
|
|
|
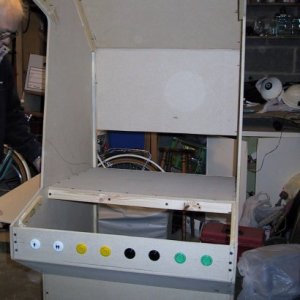
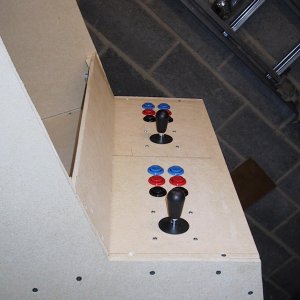
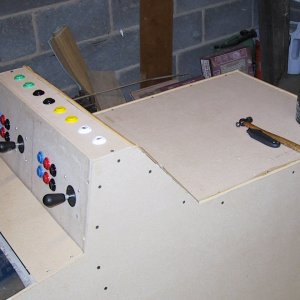
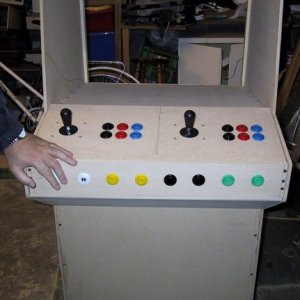
| The other eight
buttons I decided to mount on the front plate. These are
the one and two player start buttons, plus the coin buttons
and the extra player buttons. I'll remap them to useful
key-presses when the thing is assembled. |
|
| You can see the
main control panel and the extra buttons together. The hand
is vital to the photo, we mis-cut the left edge of the front
board - but replaced it later on. |
|
Day 1: 19:46
|
|
|
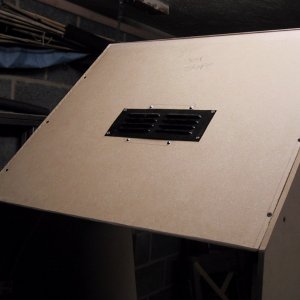
| We weren't quite
sure if cooling was a requirement, the case is pretty roomy
- but we added an equipment fan just in case. For now,
it's left unplugged but I'll monitor the temperature in
the case and see. |
|
| This is the rear
of the vent with the fan - just a standard vent plate, originally
silver but sprayed black to match the rest of the cabinet
(when decorated). |
|
|
|
|
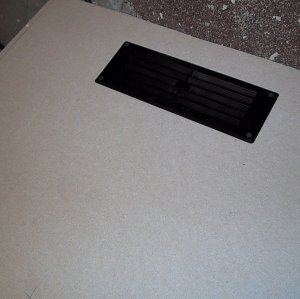
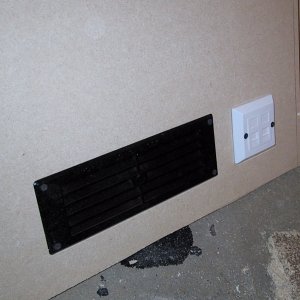
| At the base of
the cabinet, to allow airflow through, there is a fan vent
- again sprayed black. |
|
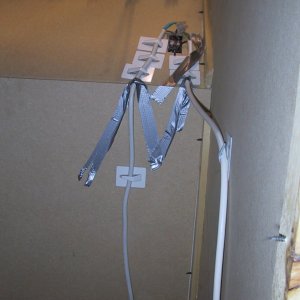
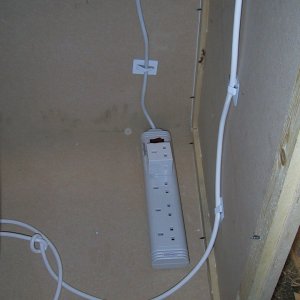
| Here you can see
some of the electrics going in. The idea is that there is
a single socket leaving the cabinet which connects to the
adapter block you can see. It needs five sockets for the
monitor, PC, fan, marquee light and the powered speakers. |
|
|
|
|
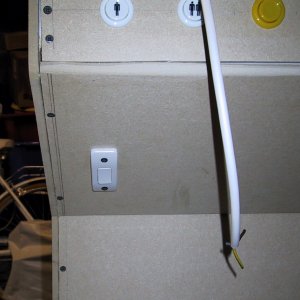
| This isn't pretty,
but it's a light switch. We decided to use this for controlling
the cabinet power. |
|
| The other side
of the cabinet, showing the light switch. |
|
Day 1: 21:41
|
|
|
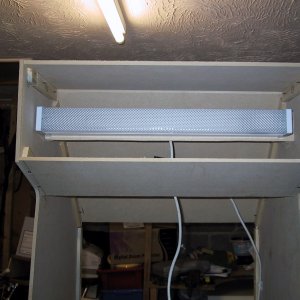
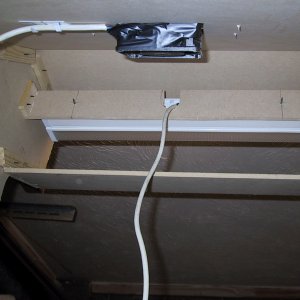
| Next to install
was a strip-light. This came with a diffuser which seemed
sensible. It also happened to be exactly the right width
for the cabinet. |
|
| It's screwed to
a bracket, and then plugged into the adapter on the cabinet
base. |
|
|
|

|
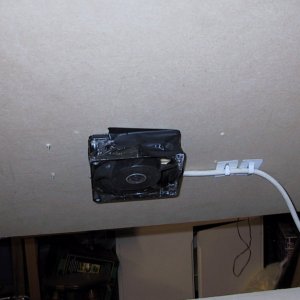
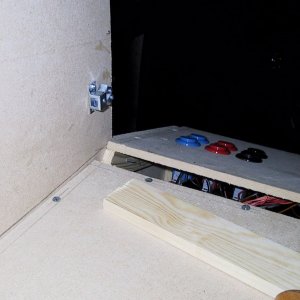
| Obviously the
PC in the cabinet will need periodic updates, so there
we installed a network port. This way the cabinet will
hang off our home network and allow manipulation of rom
images, or other files remotely. |
|
| The inside of the
back panel. |
|
Day 1: 22:40
|
|
|
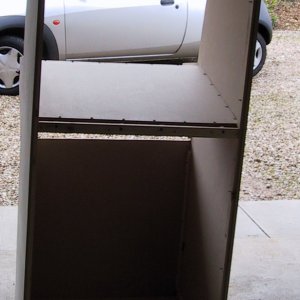
| The lower front
panel was designed to be removable, so I could get to the
monitor controls if I needed to. We used some cabinet clasps. |
|
| You can see the
other end of the clasp on the removable front panel. The
panel itself has two small holes drilled in so you can insert
something like a screwdriver to remove it. |
|
|
|

|
| Here you can
see the front panel in place. |
|
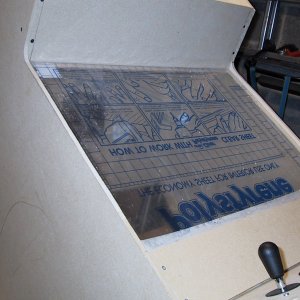
| The perspex front
for the screen is held in place by a frame glued to the inside
of the cabinet. |
|
|
|
|
| The frame was
measured, and fixed into place allowing for the thickness
of the plastic, plus the same mountings on the front once
the plastic is in place to hold it. |
|
| Here you can see
the plastic in place (with the protective coverings still
on). |
|
Day 2: 00:15
|
|
|
| Some half-round
edging was added to the frame of the cabinet to give it
a nicer appearance when painted. It also hides some of
the less well cut edges! |
|
| The same mounts
as for the main screen were added to the top to hold the
marquee (double thickness plastic with a printed image sandwiched
between). |
|
|
|
|
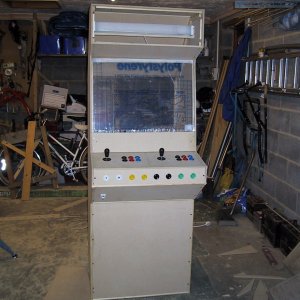
| And that's it.
The cabinet is constructed! |
|
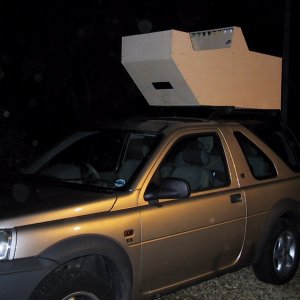
| The last step was
to get the thing to its final resting place, which unfortunately
was over 100 miles away. The only way to get it home was
on the roof. Luckily it was the middle of the night so not
many people saw! |
|
Construction Complete
|
|
|
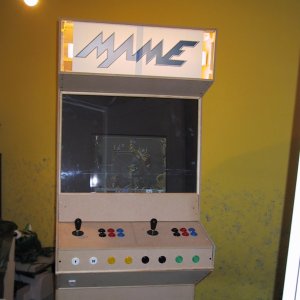
| This is the cabinet
in its home, with the screen installed and the light on.
Something that became obvious was that the monitor was
too low. Before it is painted we'll construct a box to
raise it. |
|
| The cabinet with
the screen, and a very temporary marquee. |
|
Home | Construction
1 | Construction 2 | Construction
3 | Shopping List | PC & Configuration | Graphics & Plans
|